

Your environment has a huge effect on your mood and performance, and adding personality to a room can be easy (and inexpensive) with DIY crafts. This photo to wood transfer tutorial is one of the most popular DIY room decor ideas.
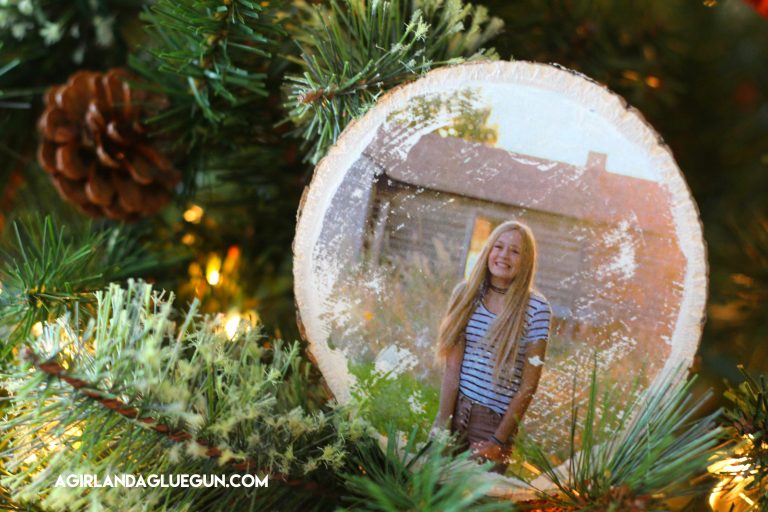
Your family photos may look nice in their frames, but if you’re into rustic decor, take note: They can look even better on tree slices and slabs of wood.
To complete the craft at home, you’ll need a piece of wood, Mod Podge, a sponge or damp cloth, Mod Podge sealer, and a photo of your choice. If you want to save even more money on this DIY, you can work with wooden objects you already have at home, or use inexpensive finds from garage sales. Wooden pallets, blocks, planks, and even smoothed-down scrap pieces would all work nicely, too.
So this is our today’s featured DIY project is ‘How To Transfer Photos On Wood’. Learn how to make it with below step by step tutorial.
Tutorial : How To Transfer Photos On Wood


For more DIY crafts and tutorials like this keep on visiting Sad To Happy Project and you can also follow us on Facebook, Pinterest, Twitter
Interested in blogging or string your own website?? Here is the step by step guide on ‘How To Start Your Own Blog‘.