Looking for a fun DIY project to tackle this weekend? How about creating something whimsical and adorable—like your very own paper cloud! That’s right, we’re making clouds, perfect for adding a touch of charm to any room. Remember how you used to gaze at the clouds as a kid, imagining all sorts of shapes? I used to do the same, spotting everything from flowers to toys up in the sky.
In this tutorial, you’ll learn how to craft delicate paper clouds that bring a soothing, dreamy vibe to your space. All you’ll need are some basic supplies—craft paper, glue, and scissors—and no sewing required!
With a little time and patience, you’ll have beautiful DIY clouds that are not only simple to make but also truly eye-catching.

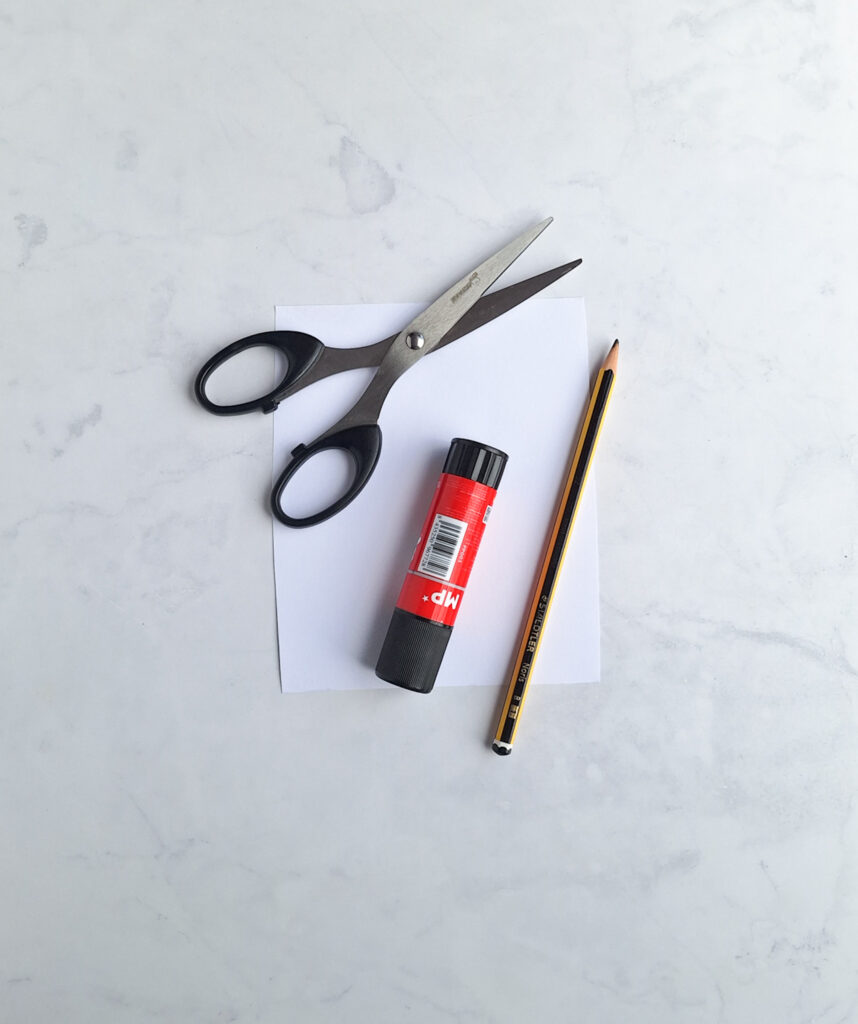
Supplies
- colored craft paper
- glue
- scissor
- pencil
Instructions
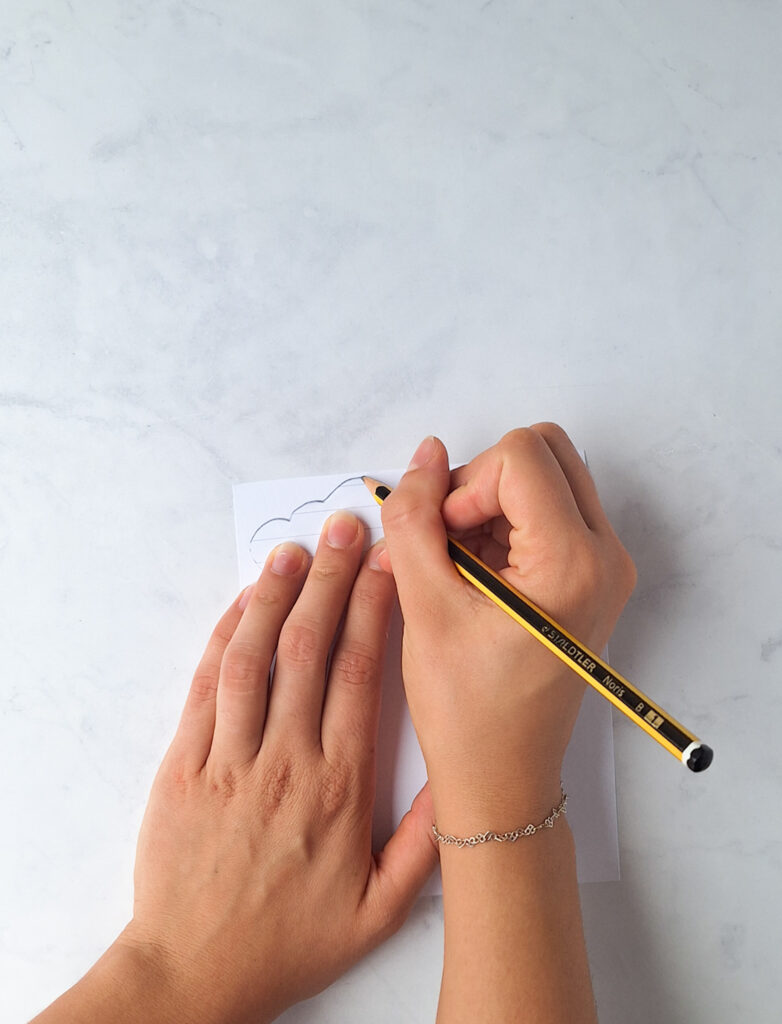
Step 1: Use the template and place the mold on the white cardstock. Trace the shape.
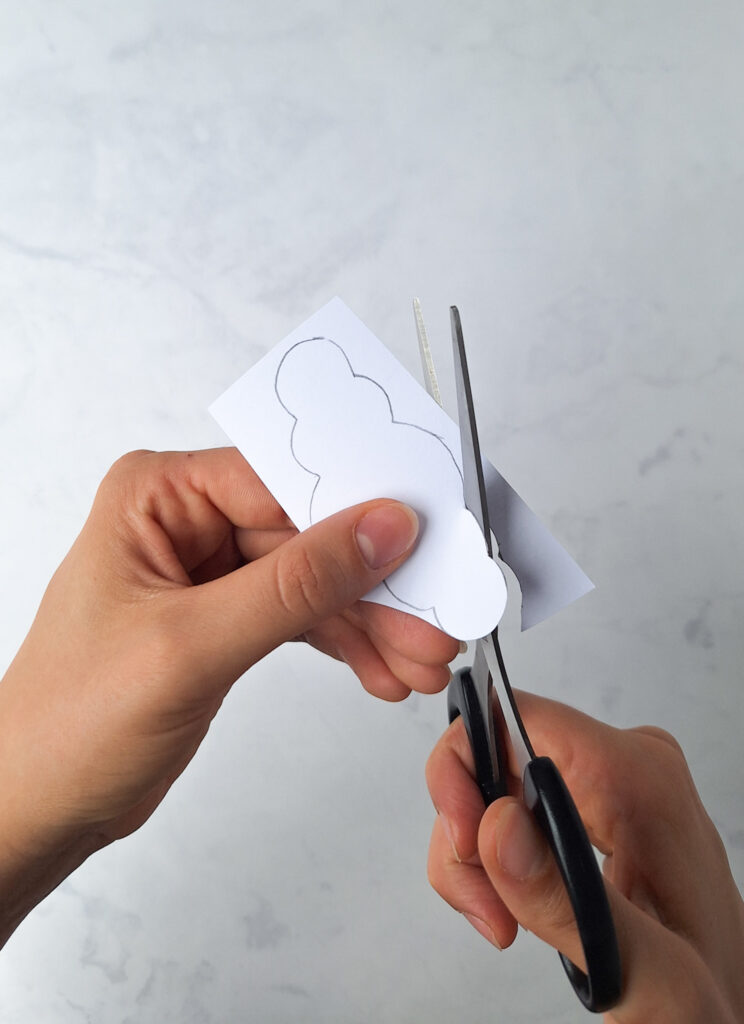
Step 2: Cut out all the traced shapes. You’ll need to cut out five shapes per cloud.
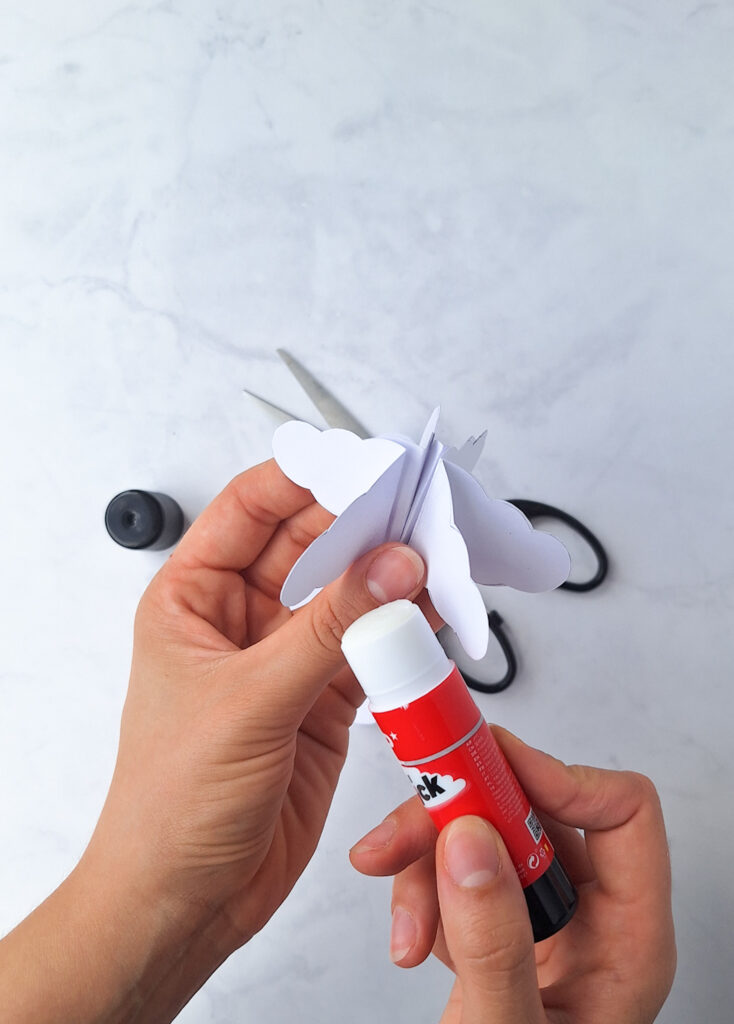
Step 3: Fold each of them in half.

Step 4: Attach the outer halves of the cloud folds until they are fully closed, making sure to join the last two remaining halves together.
And that should give you your paper cloud. Isn’t it fun?
This is the most perfect kind of craft to do with the kids.