This is a step-by-step guide on how to make your personalized bobbleheads using clay. But before we start, we should take note of this one crucial goal in creating our bobbleheads successfully. The main goal, which could be the trickiest, is to ensure that the head and body weight are perfectly balanced.
Before we proceed, let us caution everyone that building bobbleheads by yourself is a tedious task. You could use the help of someone with an artist’s hands or get your cheap custom made bobbleheads online. It saves you hours and money, and it is surprisingly affordable and 100% customizable.
 pixabay.com
Clay is the primary material to be used. Any clay will do so long as it won’t put too much weight on the head, which reminds us of the ultimate goal we stated above. We recommend polymer clay as it is durable and water-resistant. Decide on the color, but we recommend picking skin-tone shades.
The next on the list is an image that will be a basis for your bobblehead, most likely a photo. You will also need two wires, with one being thicker than the other. For example, one is 20-gauge wire, and the other is a 24-gauge wire. Other required materials include wire cutters, aluminum foil, pen, stick, and epoxy
After preparing the materials, follow these steps:
 pixabay.com
- First, we make the body part or its base. Cut the less thick wire for its legs, arms, and other lower body parts following the body of the image of your choice. Then wrap the cables with aluminum foil.
- After covering with foil, you can now cover it with clay. Knead the clay until it feels soft and pliable, making sure it can quickly cover the body. Through this, form the body part based on your image. If you notice some cracks on the clay while building the base, you could use water to cover this. Otherwise, it could cause you a bigger problem in the future. Make sure that the base is sturdy enough.
- Cut the thicker wire as tall as the body. Then, stick the wire into the body but leave half of it sticking out for its neck and the head. You could use something hard to push the cable into the body.
- Next, cover the neck wire with aluminum foil. Then, cover it with clay—no need to make the neck too thick.
- For the head, create a bowl-like shape using the aluminum foil then cover this with clay inside and outside. Then form the head based on your desired image. The hole should be large enough for the neck. Decorate the head. You can use a stick to design it or only with your hands. Again, you could use water to mold your clay easily and avoid cracks while decorating but make sure it is not too much.
- Now, we make the spring. Wrap the less thick wire around a pen and make your spring as long and thick as the neck. The looser the springs the easier it is to bobble, but not too loose that the head would not get enough support.
- Attach the spring to the neck, leaving half of it for the head to bobble. Cover the spring with clay over the neck to make it look better.
- You can now connect the head to its body. Using an Epoxy, glue the spring to the head. Position the head properly to create balance.
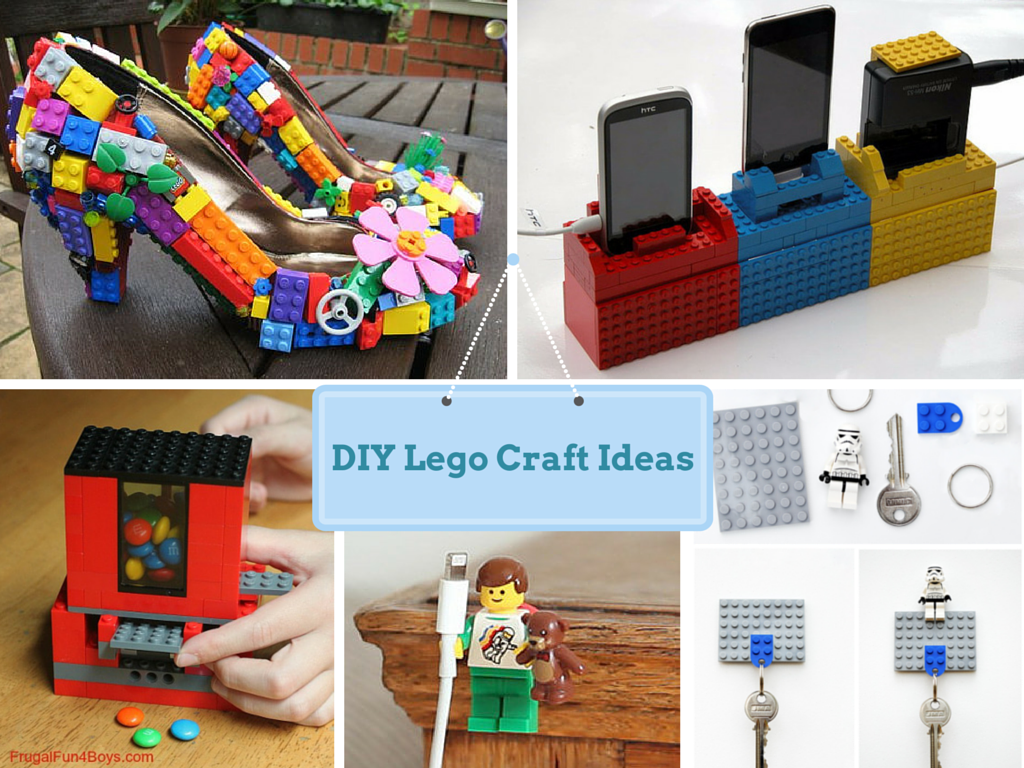
Here are more diy clay crafts.