We absolutely love making origami crafts! There’s something so satisfying about transforming a simple piece of paper into a work of art. Origami, the traditional Japanese practice of paper folding, has been around for centuries and continues to captivate people worldwide with its blend of simplicity and elegance.
It’s not just about creating beautiful designs—origami offers a range of benefits. It’s a great way to unwind, reduce stress, and sharpen your hand-eye coordination as you carefully fold each piece. Plus, it’s a wonderful way to spark creativity and build patience.
Today, we’re getting into the art of crafting an origami flower. If you’re new to origami, don’t worry—we’ll guide you through each step, making it easy and enjoyable!
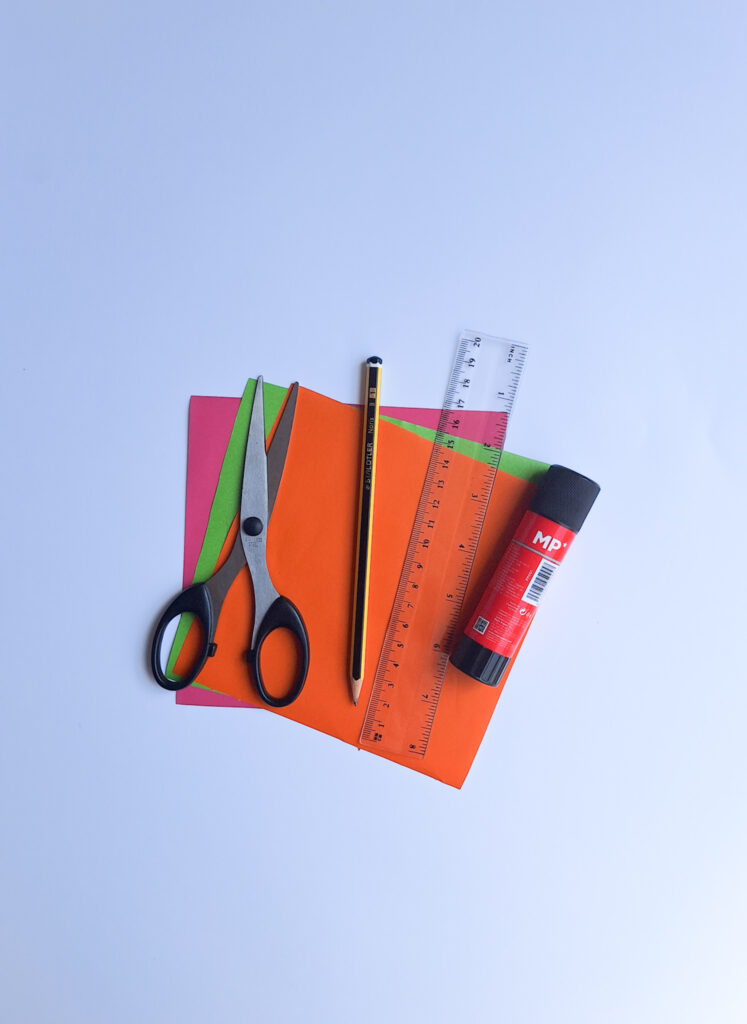
Supplies
- origami paper
- glue
- scissor
- pencil
- ruler
Instructions
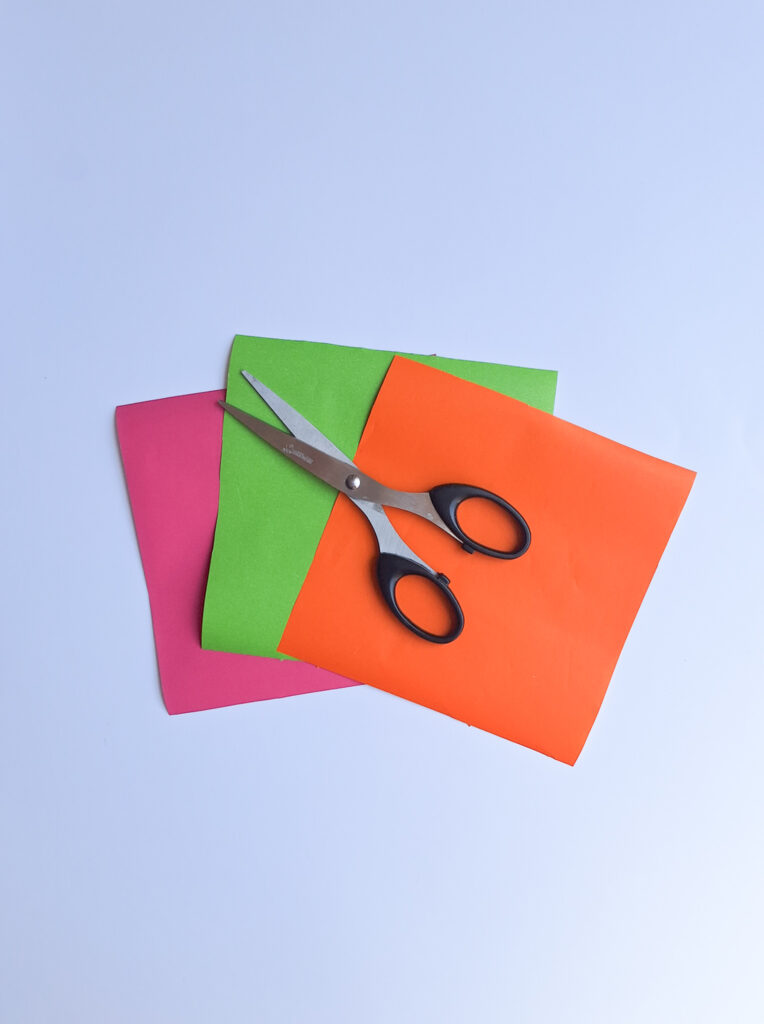
Step 1: First, select your paper. You will need five square sheets for each flower, as each piece will form a petal. I cut out 7×7-inch squares.
Step 2: Take one sheet of paper and fold it in half diagonally to create a triangle. Make sure the colored side is facing outward.

Step 3: Bring both bottom corners upward so they meet in the center, forming a diamond shape.

Step 4: Fold both tips backward so they align with the outer edges, creating two pockets.

Step 5: Press along the seam to flatten it, forming a kite shape, and then press it down firmly. Repeat the same on the other side.
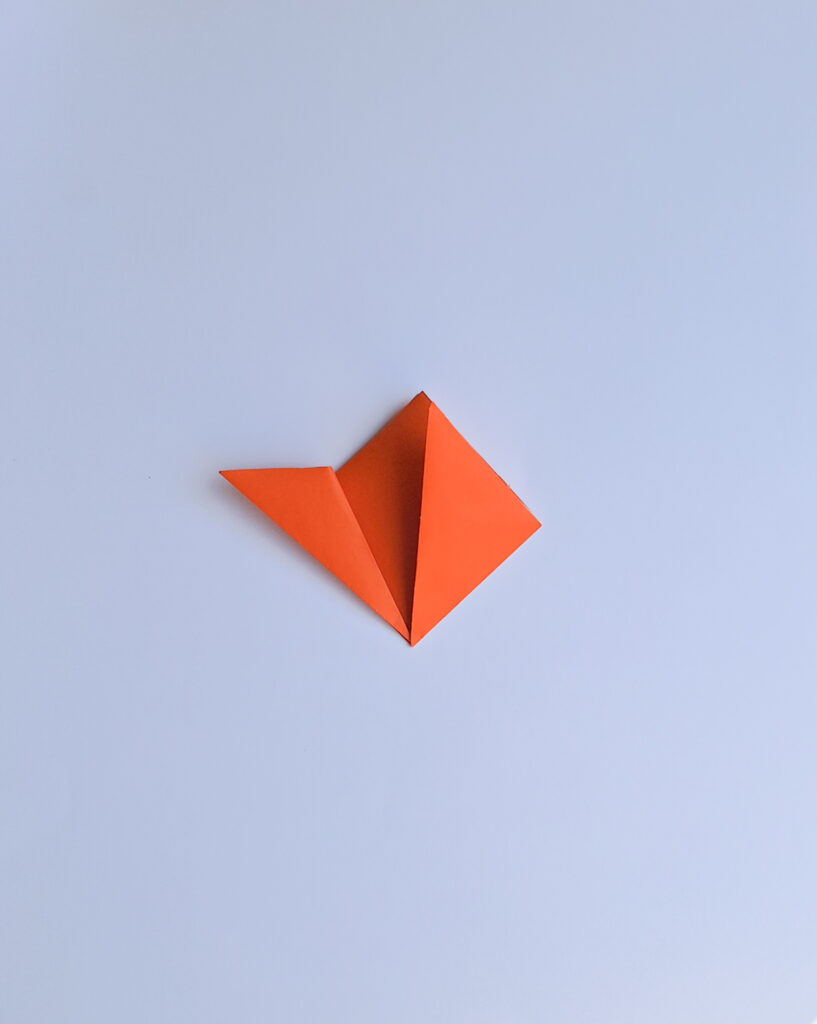
Step 6: Fold the top of each kite downward to create two triangles. Make sure the tops of the triangles align with the edge.

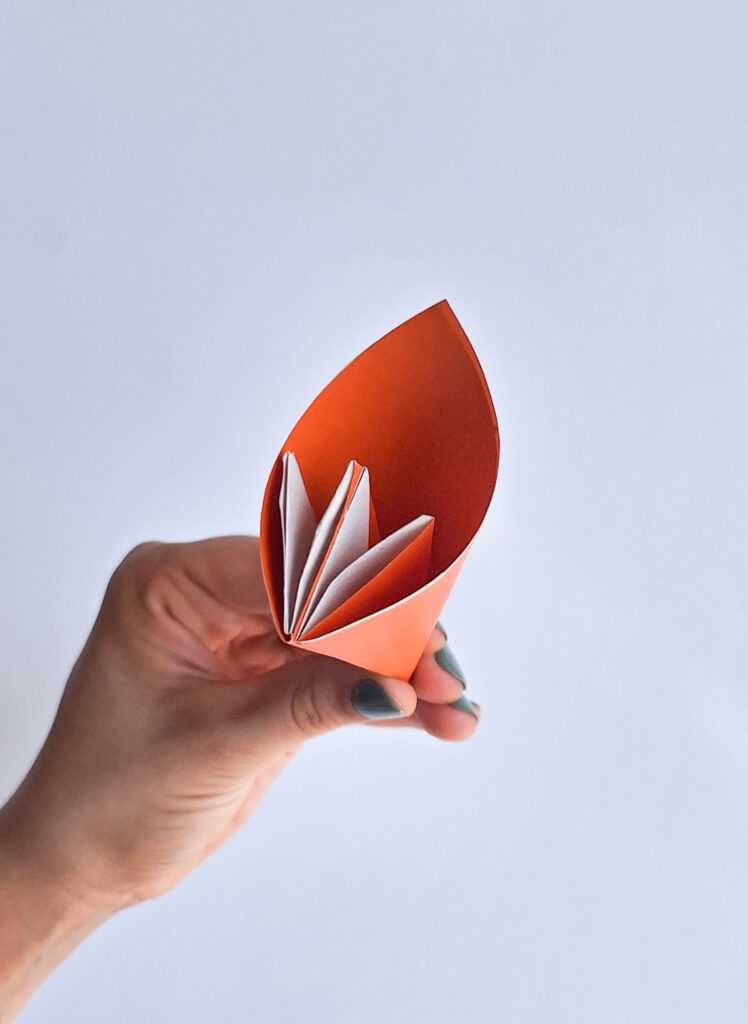
Step 7: Take both sides and fold them in half towards the center.
Step 8: Bring the two sides together so that the flaps touch, then glue them in place.
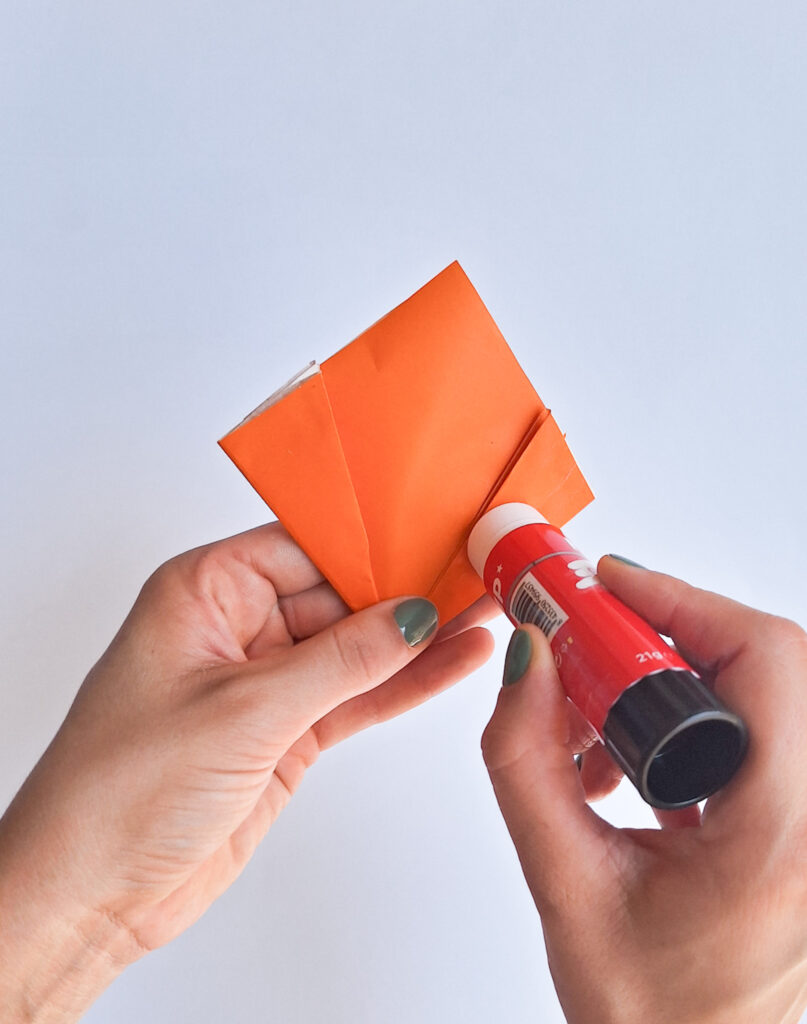
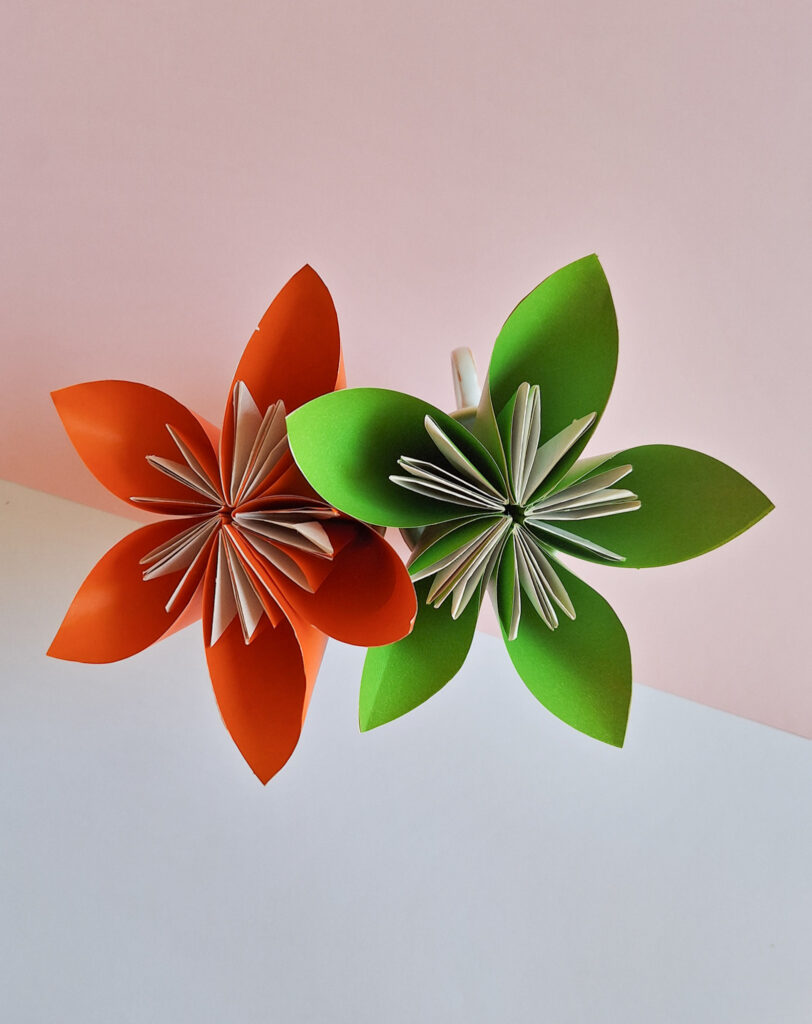
Step 9: This way, we have our first petal. Repeat the previous steps until you have 5 petals, and then glue them together at the sides to form the flower.
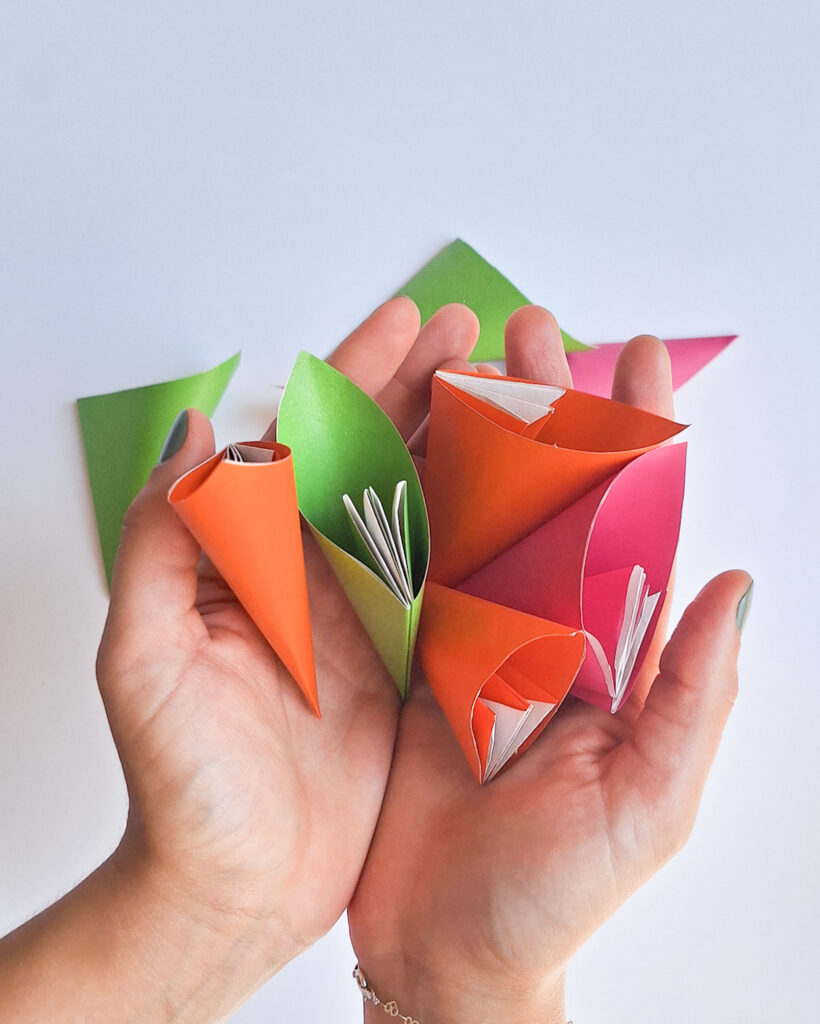
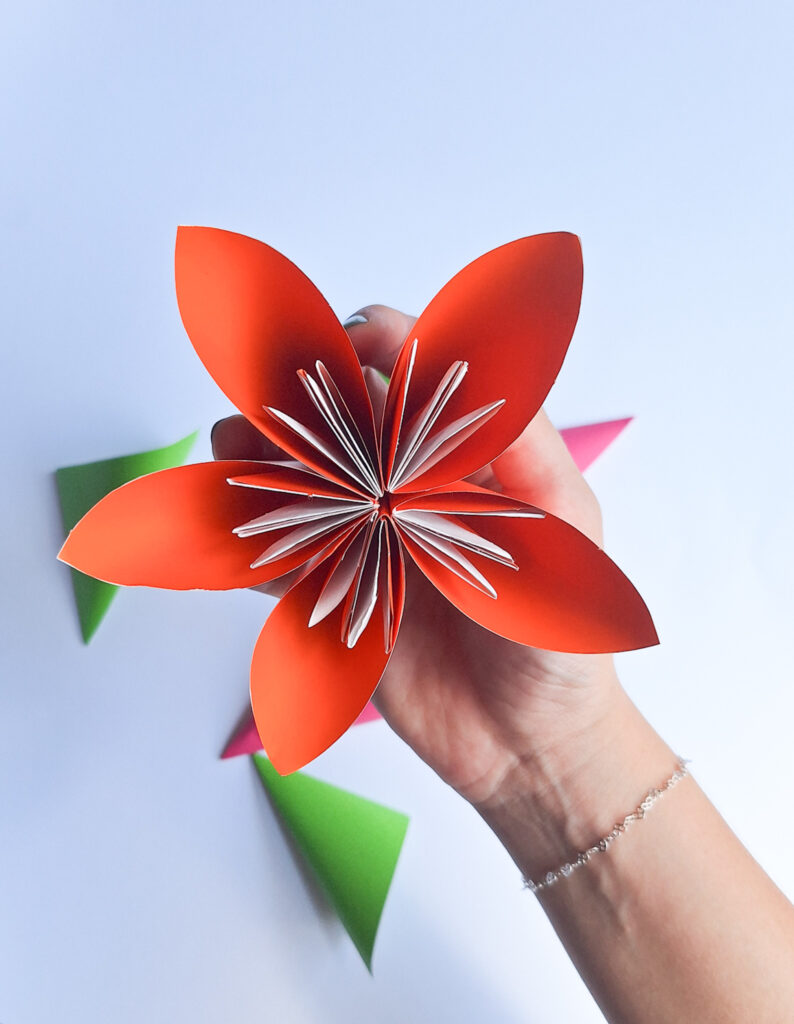
The result will be your origami flowers.

And that’s it. Let us know what you think about this creative project.