If you’re like me, you tend to buy a lot of wrapping paper, especially during the holidays. However, you’re often left with a surplus once the gifts are wrapped. Instead of throwing it away, why not repurpose it to make gift bags? These bags can be perfect for birthdays, housewarming, and any special occasion. Here’s how you can easily create this craft at home.
Supplies
- patterned paper
- glue
- scissor
- fabric ribbon
Instructions
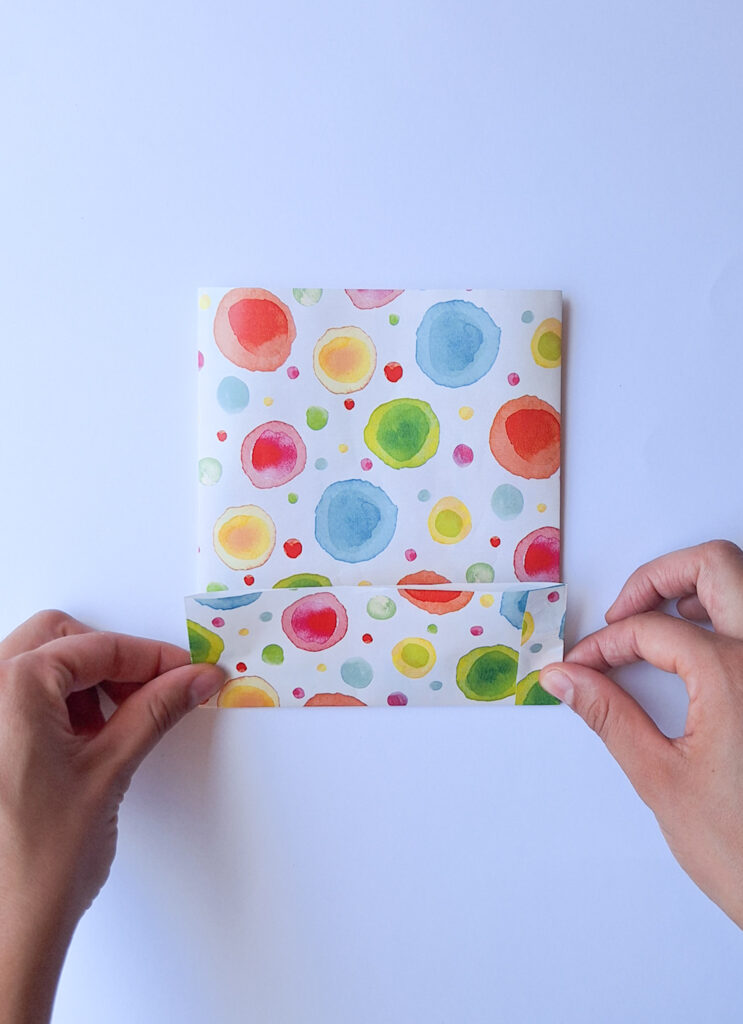
Step 1: Cut a rectangle of patterned paper measuring 29 x 21 centimeters. Fold it horizontally along the longer side, leaving 1.5 centimeters free.
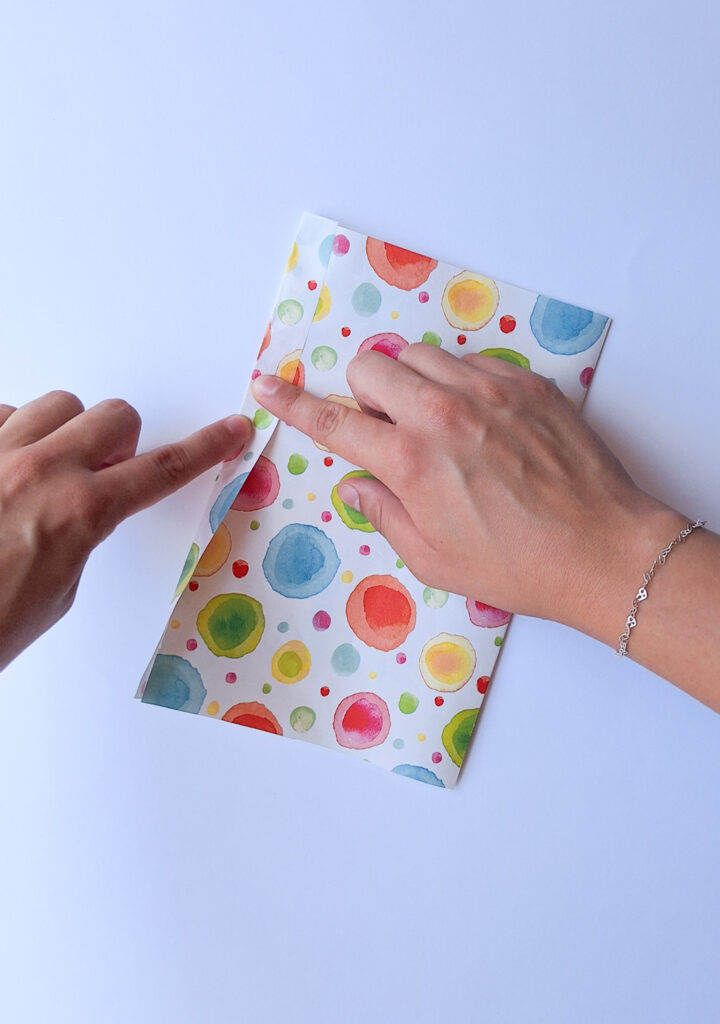
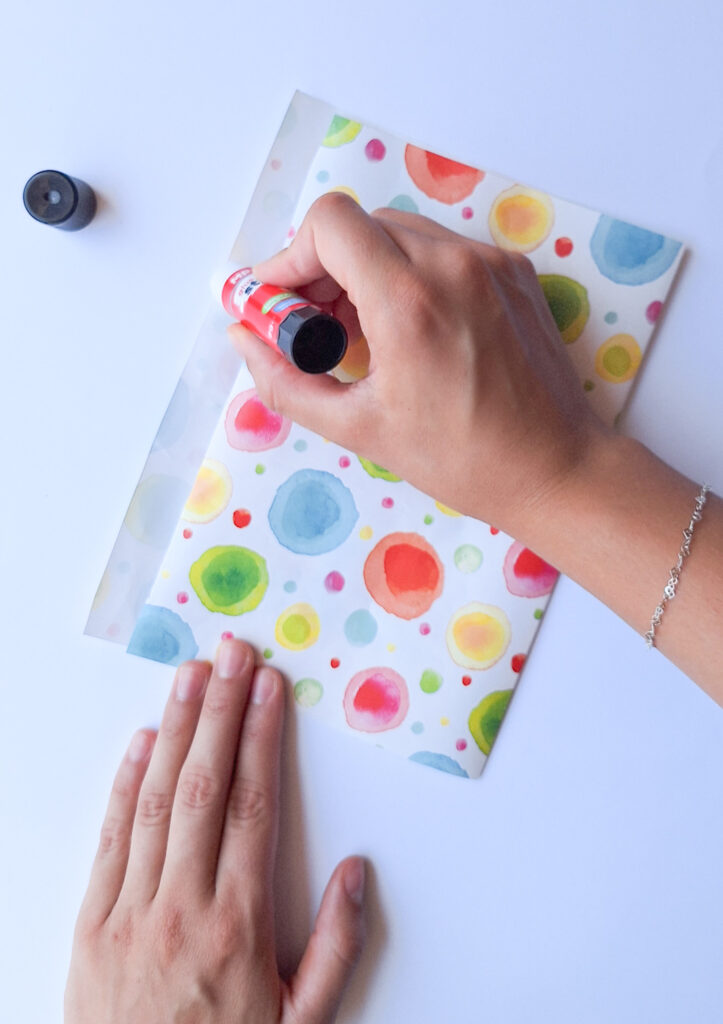
Step 2: Glue the free edge onto the folded paper.
Step 3: Fold up 5 cm from one of the open ends. This section will form the base of the wrapping paper bag.
Step 4: Open the two sides (corners) of the base. This will create triangular flaps on both sides (left and right) and two additional flaps (top and bottom).
Step 5: Fold the top flap in half, aligning its open edge with the central crease on the bottom of the bag.
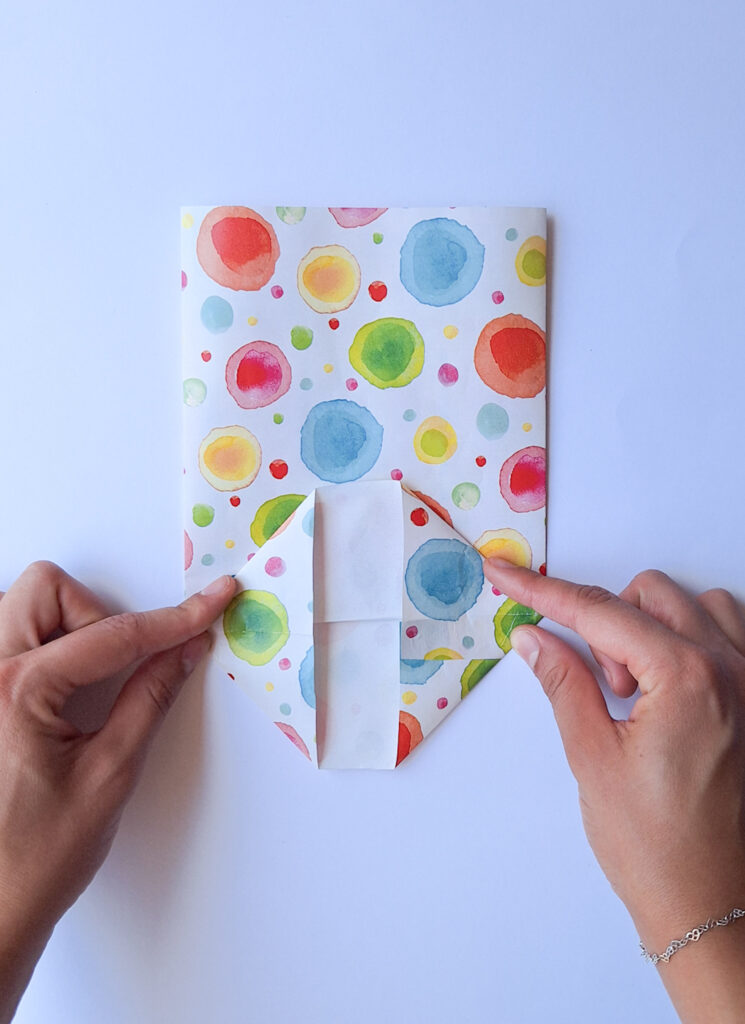
Step 6: Fold the bottom flap in half, overlapping it slightly with the top flap’s open edge. Apply glue to secure the flaps and sides, closing the bottom of the wrapping paper bag.
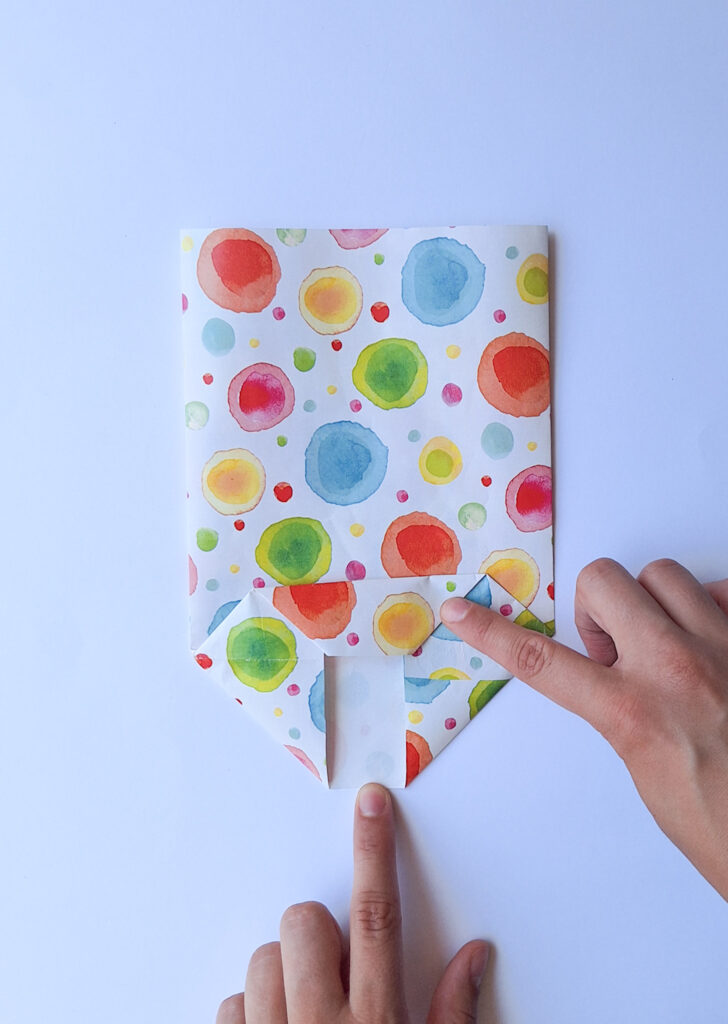
Step 7: Observe the two square shapes on either side of the bag’s base. Fold the sides along these lines, ensuring clean folds for sharp creases.
Step 8: Unfold the last two creases. Inflate the paper bag through its open end to expand the side and bottom folds that were made earlier.
Step 9: Cut four small pieces of paper and two pieces of satin ribbon, ensuring the ribbon is long enough to form handles for the bag.
Step 11: Apply glue to both ends of a piece of satin ribbon and attach these ends to the inside of the bag’s open edge, positioning them centrally.
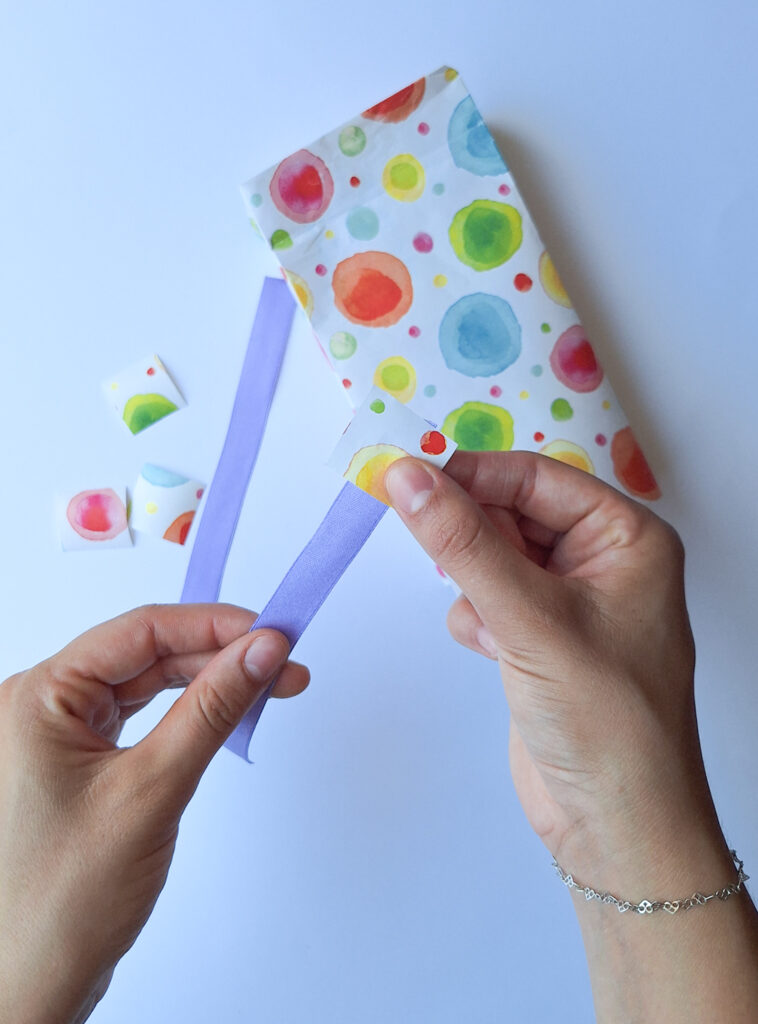
Step 12: Secure the ribbon ends with the small square paper pieces to complete the handles.
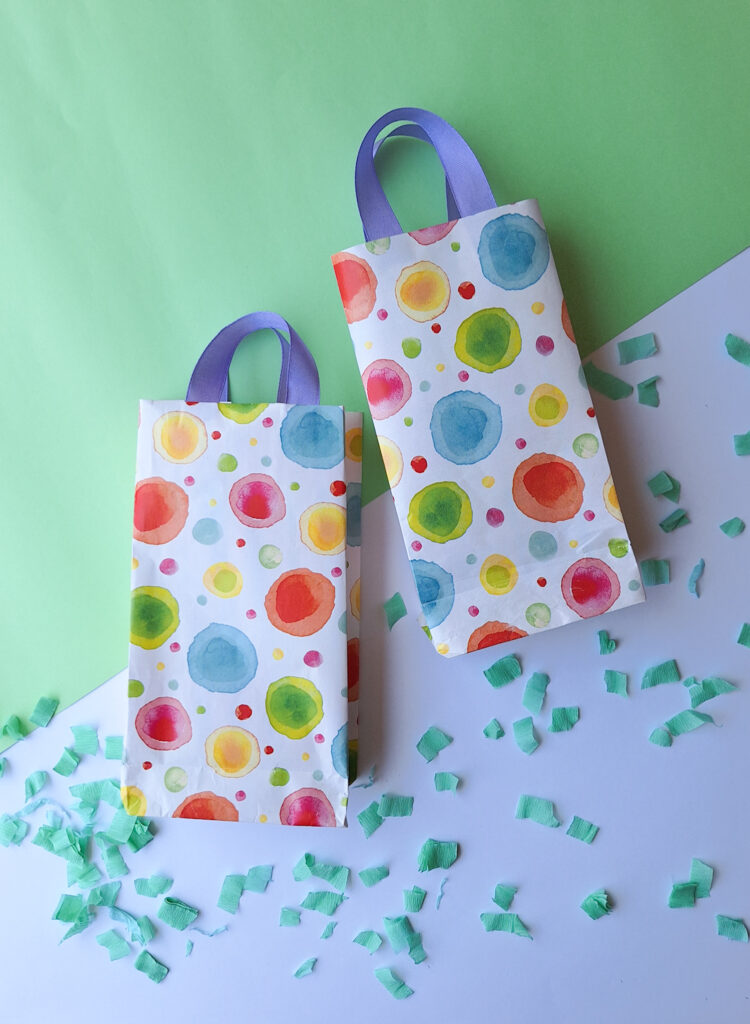
And that’s it. Let us know what you think about this easy project.