
Over the course of history, people used various natural materials, such as seashells, rocks, pebbles, sea glass, gemstones and other similar things to make jewelry and other embellishments.
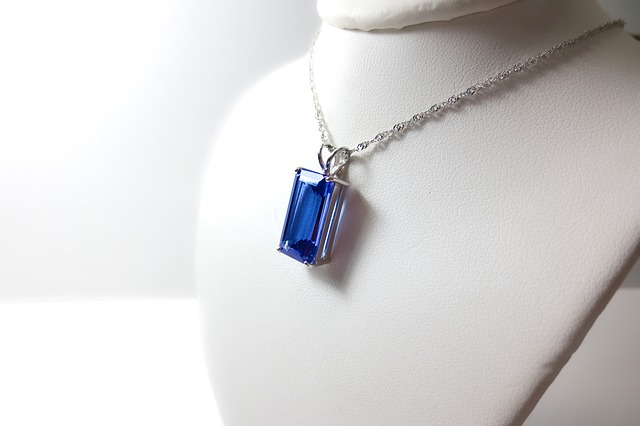

pixabay.com
This trend stuck with us to this day. And even though jewelry making became one of the biggest industries in the world, there are still people who like to try and make their own unique pieces.
The popularity of DIY jewelry making seems to be on a constant rise. So, if you are one of those people who simply can’t help themselves but buy a cute polished stone every time they come across one, why let them just sit jumbled together in a bowl?
Why not try to turn it into a unique DIY Gemstone Necklace? Here are some ideas.
Decide On The Gemstone
To start off, you’ll first need to decide which type of gemstone you want to be using. Of course, inspect your collection first and see if you can find something that fits your aesthetics.
Different gemstones have different properties, so you may want to take that into account as well. For instance, if you have decided to go with rose quartz, you can learn more about the rose quartz meaning.
This way your jewelry piece will no longer be just a way to embellish your looks but it will also work as a sort of a talisman.
Get The Essentials
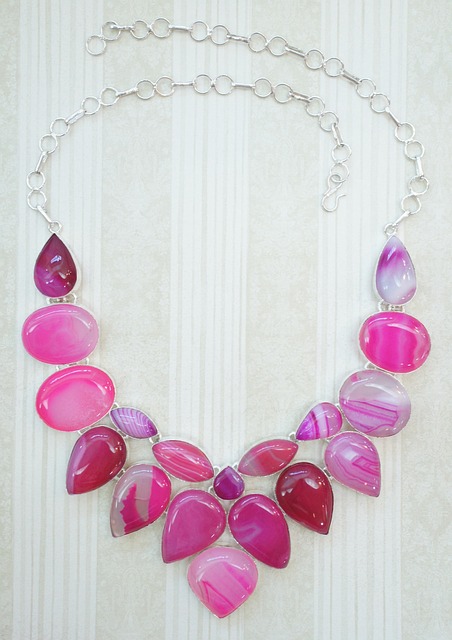

pixabay.com
Once you’ve selected your rock, you’ll need to get other essentials that will help you turn it into a pendant for your new necklace. For this, you will need some sort of either a twine, a leather strip, a chain or anything that you want to use as a necklace.
Next, you’ll also need a jewelry wire to make a base or a cage for your pendant. Additionally, you will also require small and precise jewelry pliers so that you can twist and shape the wire more easily.
Now Onto The Project


pixabay.com
First, measure the length of your necklace. No matter how short or long you want it to be, make sure you leave additional space on both ends (around half of an inch) to leave enough space to either install a clasp or tie it up once the necklace is done.
Next, get your jewelry wire and twist two pieces of it together. Even though nothing needs to be too perfect or too precise when it comes to this type of jewelry you still want to try and make it as even as possible. Here, you can use the pliers to make it a bit easier.
Once you’ve made the twisted wires about 2/3 length of the stone, hold them to one side of the stone with your thumb and index finger. Place the stone between the two pieces of untwisted wires and tighten them around it.
Bring wires to the other side of the stone and repeat the twisting process once more, this time working from the bottom up. Once you’ve reached the top of the stone, twist all four pieces of wire together into a secure braid.
After you’ve made the cage for your stone, you can move onto making a loop at the top, where you’ll string the necklace through. To add another layer of security, you can even get some resin or glue and glue the wires to the stone.
After everything’s tightly secured, you can go on ahead and install a clasp, or simply tie two pieces of your necklace together.

In the end, you’ll be left with a beautiful and unique piece of jewellery you’ll surely get a lot of compliments on whenever you choose to wear it.